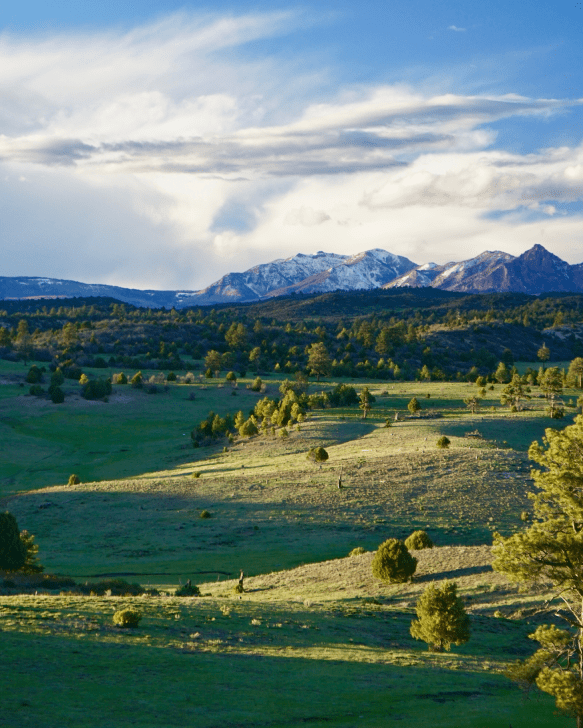
Good hunters know that elk hunting season starts long before the beginning of September. In fact, some hunters are out scouting their spots and setting up cameras as soon as the snow melts in the spring. Preparation equates to success during your season, meaning the more of it you do, the more likely you are to have a productive year of elk hunting.
Placing trail cameras is an essential part of preparation for the season. They allow you to watch your favorite spots to see the kind of elk that are moving through, at what time, and for which activity. You can use this information to plan where to set up once the season truly begins. Below are some tips on selecting trail cameras and placing them in the most ideal vantage point to help you in preparation for a big season of hunting.
Trail Cameras for Elk Hunting
There are countless models and versions of trail cameras online and in hunting stores, it can be hard to choose between them all. Here are some tips on how to narrow down your choices.
The Lighter, The Better
You are most likely going to have to hike these cameras through some rough terrain, and therefore packability is highly important. There’s no need to lug around a massive camera and it’s equipment only to install it with the potential to have it stolen by another curious animal (we mention how to avoid that later). Look for small, but powerful cameras that are no bigger than the size of your hand, especially if you plan on carrying in more than one.
Consider Battery Life
Most cameras will have the battery life listed on the packaging, and, this probably goes without saying, the longer the better. The most ideal camera will be small, and have a long battery life with AA batteries because they are smaller, easier, and lighter to carry. Any camera with a regular flash most likely will have a shorter battery life.
Invest in Infrared
Although infrared cameras can be more expensive than flash cameras, the investment is worth it. Infrared technology is unmatchable in the dark, and the flash is much less noticeable to humans as well as animals. Invest in a more expensive infrared camera that will give you quality photos any time of day and will last longer than a flash camera.
Trail Camera Placement
Ideal camera placement can mean the difference between scouting regular elk traffic or receiving footage of the ground. Below are some trail camera placement tips.
Consider Lighting
Try to place your camera facing either North or South on the game trail or near bedding areas. If the sun is shining directly at your camera, you are probably going to receive a completely washed out or over exposed photo when it’s triggered. You should also clear away any brush, leaves, or branches that might trigger your camera in the wind to preserve battery life.
Trial and Error
As much as we’d like to present you with an exact formula for where to place your camera in terms of distance, that usually requires a bit of trial and error. We can, however, offer tips like positioning your camera so that it’s directly facing the direction of a game trail in either the coming or going direction. Trying to capture an image of an animal as it’s moving through will often result in a blurry image.
Invest in a Security Box
While you hope other hunters will respect your equipment, animals in the area probably won’t be as forgiving if they come across your trail camera. Investing in a security box is a good way to avoid having your camera knocked out of place either by a passing elk or curious bear. Security boxes add to the amount of equipment you will need to carry in, but in most cases it’s worth it.